5)
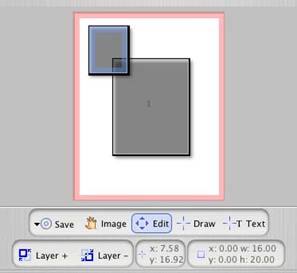
Duplicate the picture node to create another node that contains your stroke and drop shadow. You will then be able to use the Edit  tool to resize the duplicated node. tool to resize the duplicated node.
a. Select the node using the Edit  tool. Then, right-click on a PC or control-click on a Mac to get the drop-down menu. Click on the Duplicate option of the drop-down menu and a 2 nd image of your node will form over the first. tool. Then, right-click on a PC or control-click on a Mac to get the drop-down menu. Click on the Duplicate option of the drop-down menu and a 2 nd image of your node will form over the first.
b.Drag the duplicated node slightly to the up and left and then resize it to a smaller size, using the Edit tool.
c. Select the new, small image node and duplicate it three times using the same Duplicate option on the drop-down menu.
d. Drag each of the three newly created image nodes to a corner of the big, central picture node.
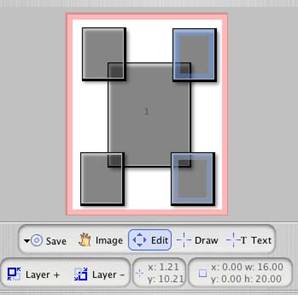
e. Select the large, central picture and click on the + Layer  button four times to bring it in front of the four smaller pictures. (You would also have the option of leaving the smaller pictures in front of the big one.)
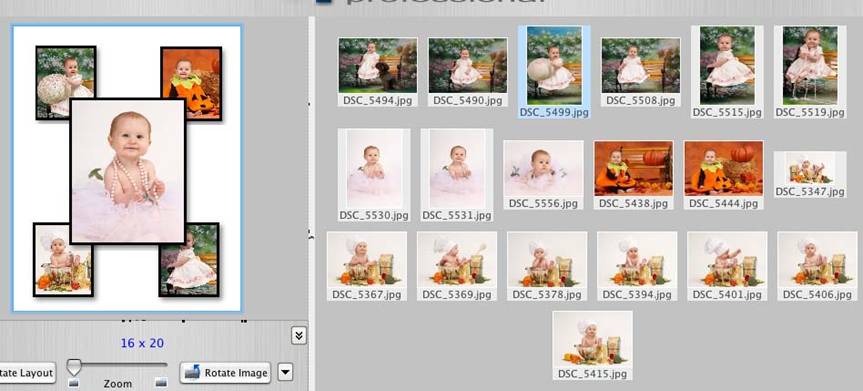
6)We’re now ready to drag in some thumbnail pictures to get a feel for how our collage will look. This is an intermediate step before adding backgrounds and/or type. Our approach will be to toggle the Pager  button to de-active and then re-activate the Pager tools to fine-tune our layout. button to de-active and then re-activate the Pager tools to fine-tune our layout.
a. Let’s de-activate Pager and drag the first thumbnail image into the layout.

Helpful hint: Click on the Image button and place the hand inside your image. Then, double-click to make the image larger. This technique will allow you to crop and place your images with greater ease and precision.
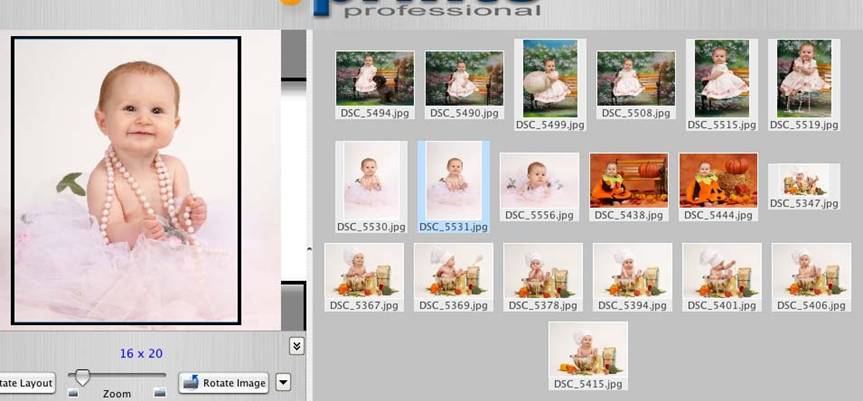
b.Drag the remaining thumbnail images into the layout. Crop and place each one within its picture node.
Do you see how some of the images, though properly placed within their nodes, are not looking good on the layout? An example would be the picture on the bottom right. The baby’s face in the small photo is partially obscured by the larger picture’s corner.
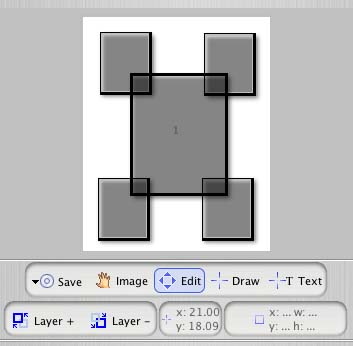
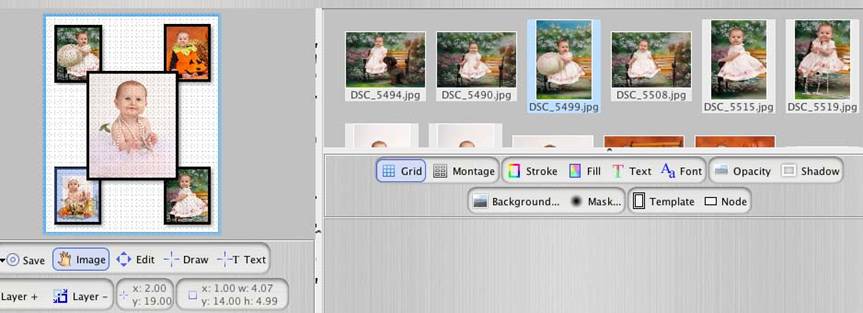
c. Edit, resize and/or change the placement of your nodes. Activate the Pager  and Grid tools. The on-screen Grid will help you align the nodes. You may also want to check on the Snap to Grid box for more precise placement. Though we don’t show it in this example you can also change the shape of your nodes to create horizontal pictures.
Here’s an example of how we solved the problem of the baby in the lower right. We moved all of the nodes farther toward the outside of the print, using the Grid to help align the nodes.
|
