Steps to follow for a basic Composite design:
1)Rotate the layout, if necessary, to the vertical or horizontal position you wantfor your enlargement by clicking on the  button. Since we’ve chosen a 16” x 20” size and want a vertical enlargement no rotation in necessary for our example. button. Since we’ve chosen a 16” x 20” size and want a vertical enlargement no rotation in necessary for our example.
2) Draw your first image node using the Draw  tool. You only have to approximate the dimensions of your image since you will probably be modifying its size, shape and position later. tool. You only have to approximate the dimensions of your image since you will probably be modifying its size, shape and position later.
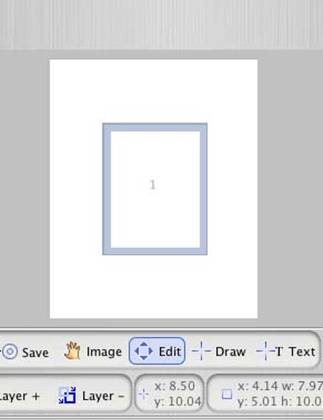
Tip: Utilize the x/y read-outs below the layout window. In our example they are 8.50 and 10.04 inches. This is the size of the image node we have drawn. You can use this read-out during the drawing operation to gauge how large to make your node.
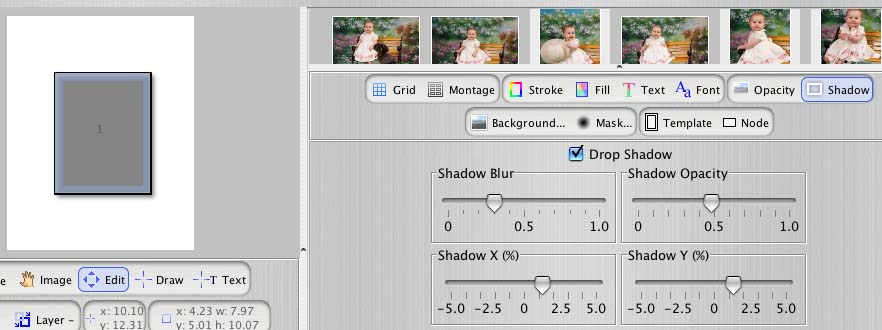
3) Now we will modify the node to add a stroke (border).
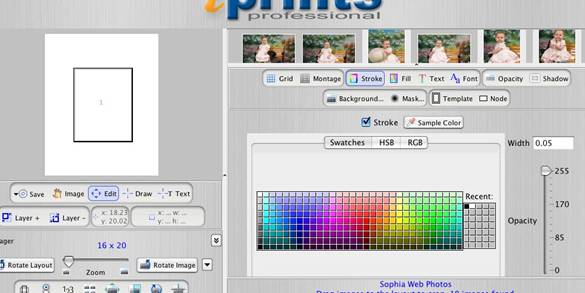
a. Click on the Stoke  button to open the Stoke tools. (Note that we are going to have to click and drag on the dot • located above the Text  button upward…temporarily obscuring our thumbnails…to be able to see the Stroke tools. When you need to see or use the thumbnails you’ll drag the dot in the other direction.)
b.We’re going to temporarily choose a black stroke of .05” for this node so that you can see it clearly. We’ll change (edit) our selection to a different color stroke later. We’ll make the stroke selection by clicking on a black square and setting the Width to .05”.
The screen you’ll see will look like this:
4) Add the drop shadow:
a. With the image node selected click on the Shadow  button. When you have checked the Drop Shadow box you’ll see this screen: 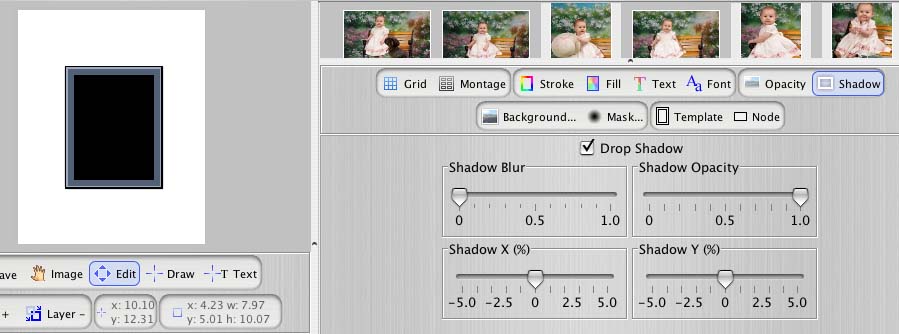
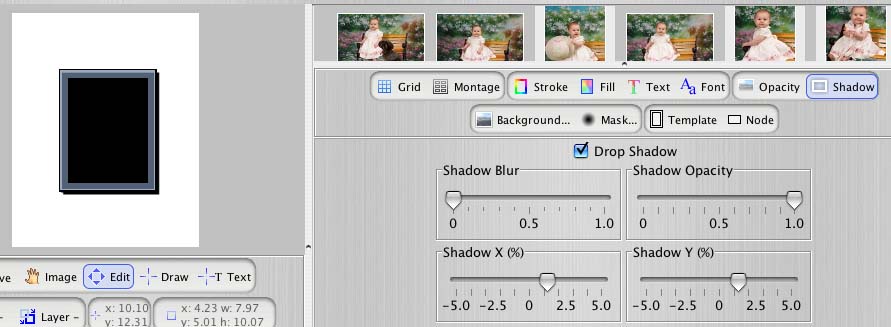
b. Adjust the Shadow X and Shadow Y sliders to move the black drop-shadow box to where you want your drop shadow to fall.
c. Use the Shadow Opacity slider to lighten the drop shadow to your taste.
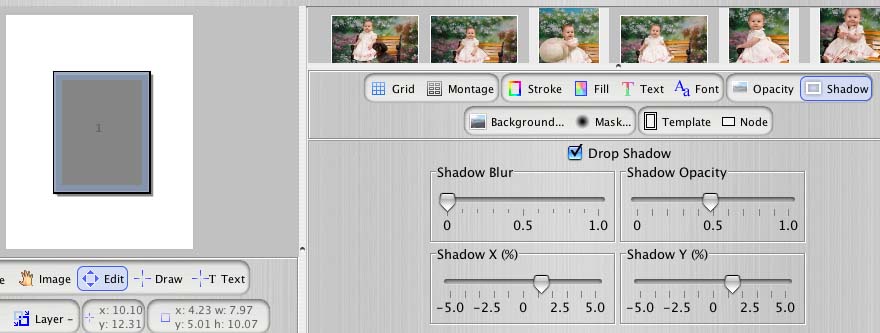
d. Use the Shadow Blur slider to soften the edges of the drop shadow.
|
