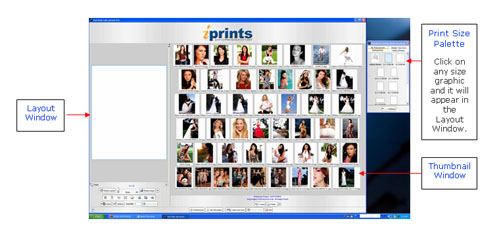
4. Now you’re ready to select your images. Get images from your hard drive or other media by clicking on the Folder  button. Select a file containing the JPEG images you want to print from your hard drive or digital media. Your pictures will load and appear in the right-hand Thumbnail window. button. Select a file containing the JPEG images you want to print from your hard drive or digital media. Your pictures will load and appear in the right-hand Thumbnail window.
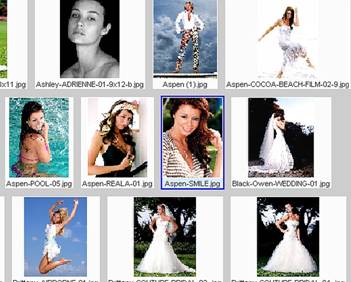
5. You may drag thumbnail images around the Thumbnail window to change their sequence. You can also rename images. (Important: Do not use “ quotes, __ underscores or other “special” symbols in your names as these will create problems in printing.)
6. Click on any thumbnail image to select it.
7. Then, drag the individual image from the thumbnail screen on the right into the Layout window on the left. Your image will automatically resize to fill the print size you have selected.
Tip: You can change print sizes by clicking on another size graphic in the Sizes Palette. (i.e. If you needed a full frame image such as an 8” x 12” rather than an 8” x 10” aspect ratio.)
Crop & place images as you want them printed by using the zoom slider and rotation tools under the Layout window.

|
